Scope
Steps to manually add contacts into Messenger.
Instructions
-
Go to Advanced Messaging.
-
Under Search, click Address Book > Add New Contact or click Add to Address Book.
-
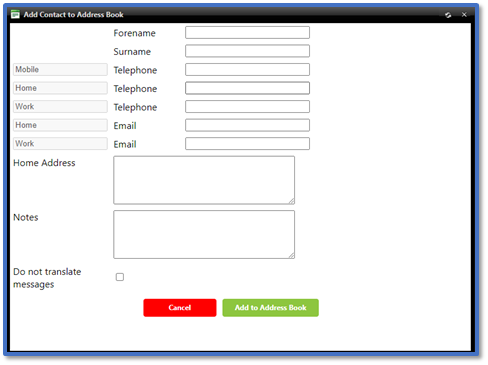
This will open the Add Contact to Address Book window:
-
In Forename, enter the contact’s first name.
-
In Surname, enter the contact’s last name.
-
In Mobile Telephone, enter the contact's mobile number for sending messages via SMS to Mobile and Voice to Mobile.
-
In Home Telephone, enter the contact’s landline number for sending messages via Voice to Home.
-
In Work Telephone, enter the contact’s work number for sending messages via Voice to Work.
-
In Home Email, enter the contact’s personal email address for sending messages via Email.
-
In Work Email, enter the contact’s work email address for sending messages via Email.
-
In Home Address, enter the contact’s address information. This can be included in messages using the $homeaddress$ token. Read our guide for further information: Messenger: Tokens (Merge Fields).
-
In Notes, enter any additional information regarding this contact if applicable.
-
Do not translate messages can be ignored as manually added contacts have English as their default language.
-
Click Add to Address Book.
-
This contact will now show in Address Book and can be found via Quick search for Contact or Group.