Scope
Steps to manage Omissions which prevents contacts from being sent messages.
Instructions - Add Omissions
-
Go to Advanced Messaging.
-
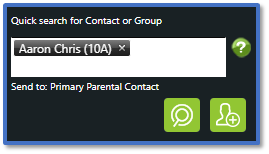
Use Quick search for Contact or Group to find the relevant contact > Add to Recipient.
-
Right-click on the contact > Omissions.
-
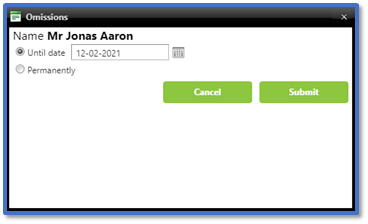
Select Until date > Open the calendar pop-up > click the relevant date or select Permanently.
-
Click Submit.
-
The contact’s Route will say Omitted and their mobile number/email address will no longer appear.

Instructions – Edit or Delete Omissions
-
Go to Tools > Contacts > Manage Omissions.
-
This shows a list of all omitted contacts and how long they are Omitted Until.

-
Select the contact to open the Omissions window.
-
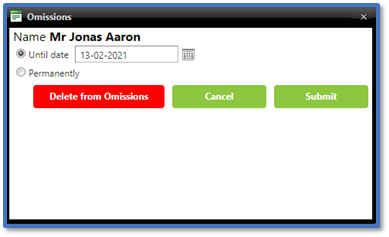
If Until Date is selected, click Open the calendar pop-up > click on the new date or select Permanently.
-
If Permanently is selected, select Until date > Open the calendar pop-up > click the relevant date.
-
If you want to delete the omissions, click Delete from Omissions > OK.