Salesforce

Messenger: Attendance in Advanced Messaging

« Go Back
Article Details
Instructions to update attendance and search for contacts with absent/late students.
Information

Scope

Steps to use the Attendance tab in Advanced Messaging.

Instructions

  1. Go to Advanced Messaging > Attendance.

  1. Confirm when Attendance was last updated in Messenger.

    • Note: Attendance updates automatically on an hourly basis during the school day.

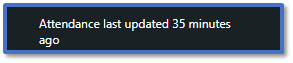
  1. If you require a more recent update, click Request Attendance to trigger this data sync. The button will disappear while the sync is in the progress to prevent further requests.

  1. Once the button returns, the update will have completed with a new timestamp.

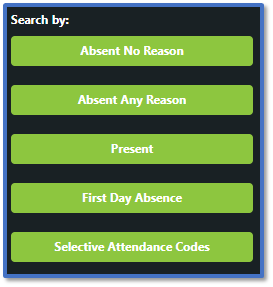
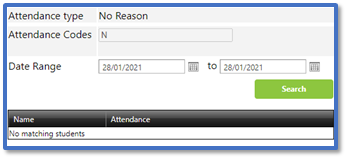
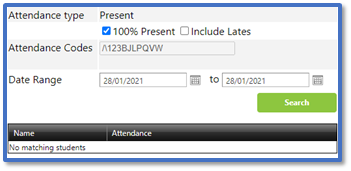
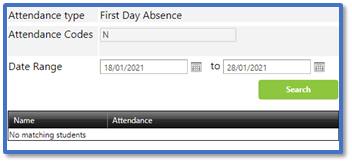
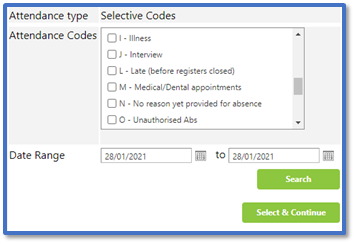
  2. For Search by, select one of the following:

    • Absent No Reason: This searches for students marked with an unexplained absence.

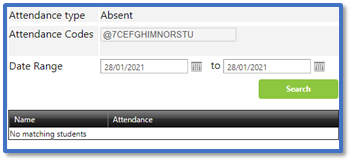
    • Absent Any Reason: This searches for students marked with any code indicating they are absent e.g., illness, unauthorised, religious observation etc. It does not include students who are being educated offsite.

    • Present: This searches for students that were marked as present today.

​​​​​​​

    • First Day Absence: This searches for students that have been marked with an unexplained absence for the first time today.

      • Note: To search for students who were absent for the first time on a different date, change the end date field.

​​​​​​​

    • Selective Attendance Codes: This searches for students marked with the attendance code(s) you tick here.

​​​​​​​

  1. Click Select & Continue to add the students and their parental contacts to the send list.

  2. To send the message, read our guide for further information: Messenger: Send Advanced Messages.

Properties
Messenger: Attendance in Advanced Messaging
Messenger-Attendance-in-Advanced-Messaging
28/02/2024 18:25
02/03/2024 04:20

Powered by