Scope
Steps to send messages via Advanced Messaging.
Instructions
-
Go to Advanced Messaging.
-
In Search, use one of the following tools to select your recipients:

-
-
Use Quick search for Contact or Group to find individual contact names or group names > Add to recipient.
-
Use Multi Search to find multiple contacts. Read our guide for further information: Messenger: Multi Search in Advanced Messaging.
-
Tick the group(s) with the intended recipients.
-
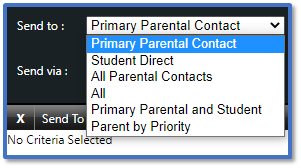
Select the relevant Send to option from the drop-down menu:
-
-
Primary Parental Contact: The message will send to the primary parental contact of the student i.e., the parent listed as the priority contact in the MIS.
-
Student Direct: The message will send to the student themselves using their own contact details.
-
All Parental Contacts: The message will send to all the parental contacts of the student, regardless of their priority.
-
All: The message will send to all the parental contacts and to the student.
-
Primary Parental Contact and Student: The message will send to the primary parental contact and to the student.
-
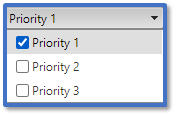
Parent by Priority: The message will send to the parental contacts based on the priority options that you select from the drop-down menu e.g.
-
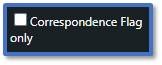
Tick Correspondence Flag Only to filter contacts to by whether have Correspondence ticked in the MIS.
-
Select one of the following:

-
-
Once per Parent: For parents of siblings, this option means that they will only receive one message from the school regardless of the number of the children they have. Use this for general messages that are not personalised to any one sibling.
-
For each Student Parent combination: For parents of siblings, this option means that they will receive your message as many times as they have children. Use this for messages that are personalised for each student.
- Select the relevant Send via option(s) for how you want your message to be sent:
-
-
Email: The message will be sent to the contact’s Home Email and/or Work Email.
-
SMS to Mobile: The message will be sent to the contact’s Mobile Telephone.
-
Xpressions: The message will be sent to the contact’s registered device. Read our guide for further information: Messenger: Xpressions and Enhanced Xpressions.
-
Voice to Mobile/Work/Home: The message will be sent to the contact’s Mobile Telephone/Work Telephone/Home Telephone.
-
Letter: The message will be copied into a PDF document to print out a paper copy.

-
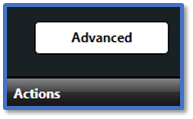
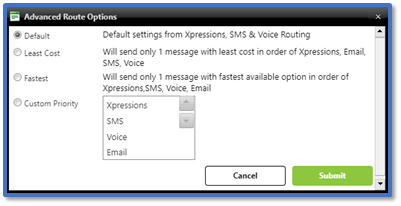
Click Advanced to check your sending route options which you can change for your message if needed. Read our guide for further information: Messenger: Change the Advanced Message Sending Options.
-
The list of selected recipients can include the following information:
-
Route: Which messages routes are available to this contact.
-
ContactType: Whether the contact is a Father, Mother, Student, Staff etc.
-
Name: The name of the intended recipient.
-
Student: The name of the student linked with the recipient.
-
Email: The email address of the recipient.
-
SMS: The mobile number of the recipient.
-
Voice: The home/work/mobile number for voice messages.

-
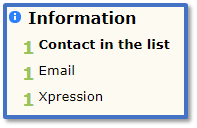
With each change you make, an Information window will pop-up to indicate the number and type of messages that will be sent.
-
Click Next.

-
Use the following guides to create your message:
-
Once you have composed your message, click Next.
-
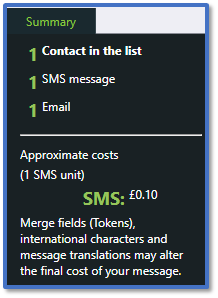
Check the Summary to confirm how many contacts are listed, the number/type of messages it will send, and the approximate cost.
-
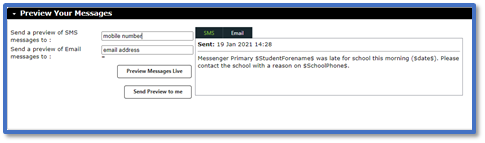
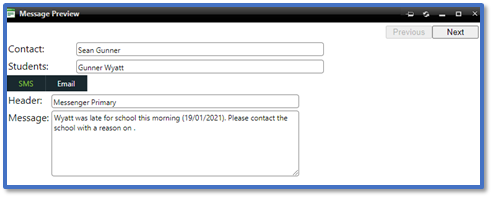
In Preview Your Messages, you can see the message you have created.
-
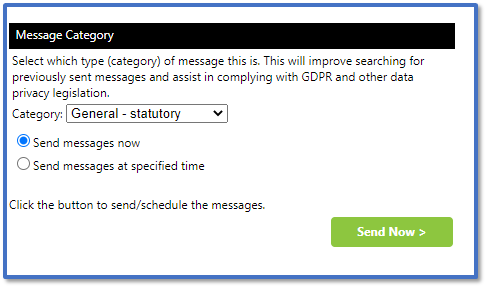
- In Send, click Send Now to send the message immediately.
-
The final page will show the status of the message being sent:
-
Click Show Status of this message to go to the Message Details in History or click Send a new message to return the first page of Advanced Messaging.