Scope
Steps to schedule a message for later.
Instructions - Add Scheduled Messages
-
In Advanced Messaging, select your recipients and compose your message until you reach the final page. Read our guide for further information: Messenger: Send Advanced Messages.
-
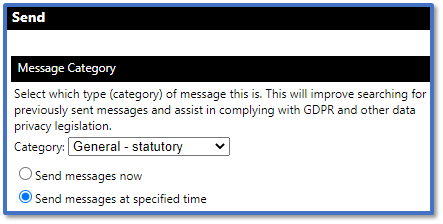
In Send, select Send messages at specified time.
-
This will add a new field for when the message will be scheduled to send.
-
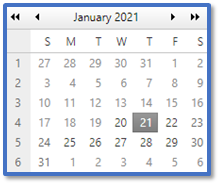
Click Open the calendar pop-up to select the date it will be sent.
-
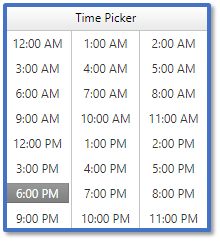
Click Open the time view pop-up to select the time it will be sent.
-
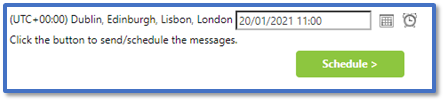
Click Schedule to add it to the message queue.

-
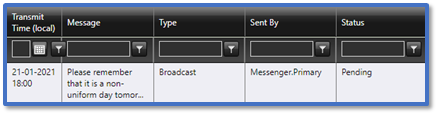
To view the scheduled message, go to History > History – All.
-
Scheduled messages will appear at the top of the list with the status Pending.
Instructions – Change Scheduled Messages
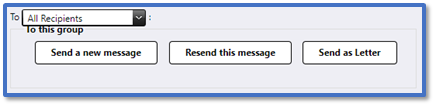
You cannot edit a scheduled message directly, but you can replace it with a new version:
-
Go to History > History – All.
-
Click on the scheduled message with the status Pending to open the Message Details.
-
Select Send a new message.
-
This will redirect you to Advanced Messaging with the same recipients, message type and message contents pre-populated.
-
Change the relevant details and schedule the message again.
-
Follow the steps below to remove the original scheduled message.
Instructions – Delete Scheduled Messages
-
Go to History > History – All.
-
Click on the scheduled message with the status Pending to open the Message Details.
-
Click Delete.