Scope
Steps to manage documents used for mail merge.
Instructions – Create Merge Documents
-
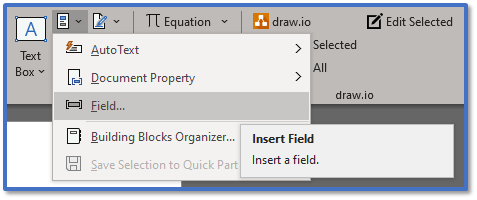
To add a merge field into Microsoft Word, go to Insert > Quick Parts > Field.

-
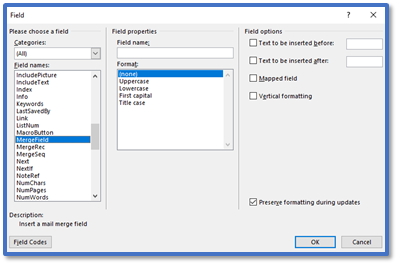
In Please choose a field, select MergeField.
-
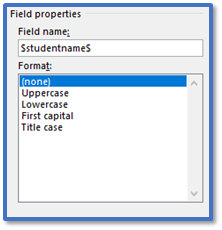
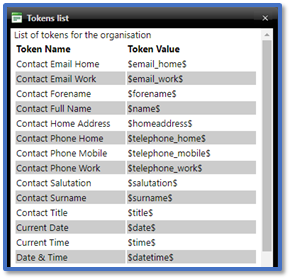
In Field properties, enter the relevant merge field in Field name > OK.
-
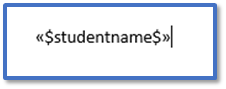
This will insert the merge field into your document as text.
-
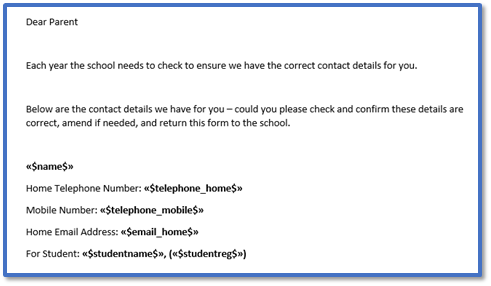
Repeat Steps 1-4 for all the merge fields you need to include in your document.
-
Save the document as a standard .docx file.
Instructions – Upload Merge Document
-
Go to Tools > Libraries > Manage Merge Documents.

-
In School Templates, click Upload New Template to open your file browser > select the document > Open.

-
Your document will appear in the list of School Templates.
-
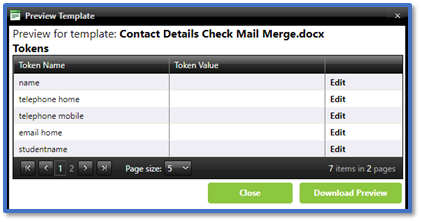
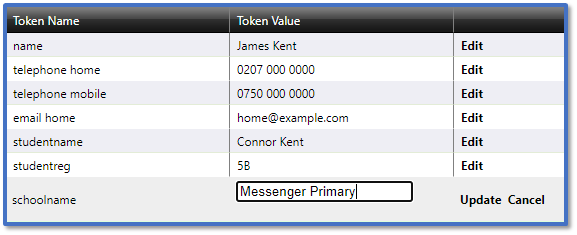
Click Preview to open the Preview Template.
-
For each token, click Edit to apply a Token Value > Update.
-
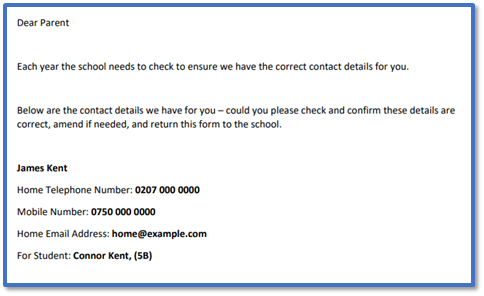
Click Download Preview to download a PDF file with the merge fields replaced by the values you added.
-
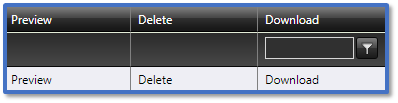
If you need to edit the merge document, click Download to retrieve the Microsoft Word version of the file which you can change and re-upload.
-
And if you need to remove the merge document, click Delete.
Instructions – Send Merge Document
-
Go to Advanced Messaging, select your contacts, and choose email for Send via. Read our guides for further information: Messenger: Send Advanced Messages / Messenger: Creating Emails.
-
Click on Attach Merge Document Template.

-
In Choose a template, select the template you want to attach to the email.

-
The merge document will appear next to the attach template button.

-
Ensure you have entered the contents of your message > click Next.

-
If there are any merge fields in the document that Messenger does not recognise, it will list them as Dynamic Tokens.

-
Click Edit and enter the Token Value for it. That value will be applied for every recipient that receives the merge document.
-
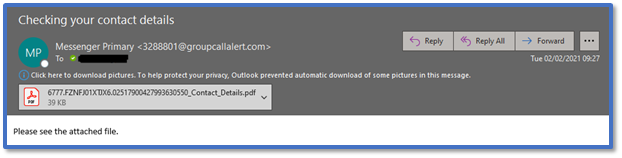
When the email is sent, the recipient will see the merge document with the email like a standard attachment.
-
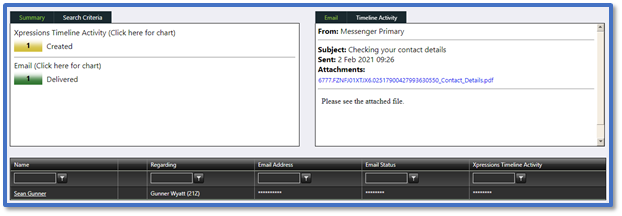
Once sent, you can view the message by going to History and clicking on it to open Message Details. Read our guide for further information: Messenger: Check Message History.
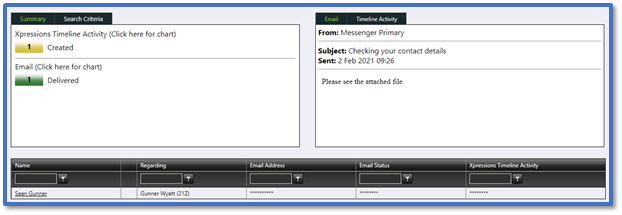
-
Select one of the recipients and the attachment will appear in the message. Click the link to download the attachment and see the file as it appears for the recipient.